Profiles
Profiles are used to control actions that users can perform on records. In addition, profiles can be used to restrict access to specific fields, modules, and features such as import, export, etc. When a profile is associated to a role, the access rights defined in the profile will be applied across all users in that role.
Notes! Users in higher hierarchy can always view records of users in lower hierarchy.
Creating Profiles
You can create different profiles and associate them with roles in PE Front Office. For instance, you can create different profiles for your Sales team, Support team, etc.
Follow few simple steps to create a profile
-
Click gear icon
 in the upper right.
- Click CRM Settings.
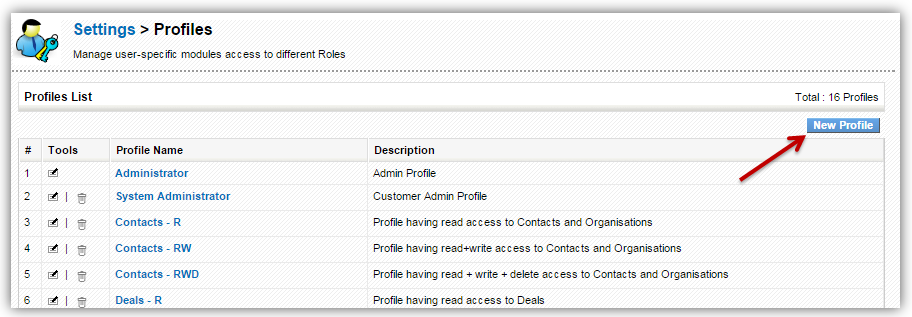
- Under Users and Access Management click on Profiles.
- You will see list of available profiles in PE Front Office.
-
Click on New Profile.
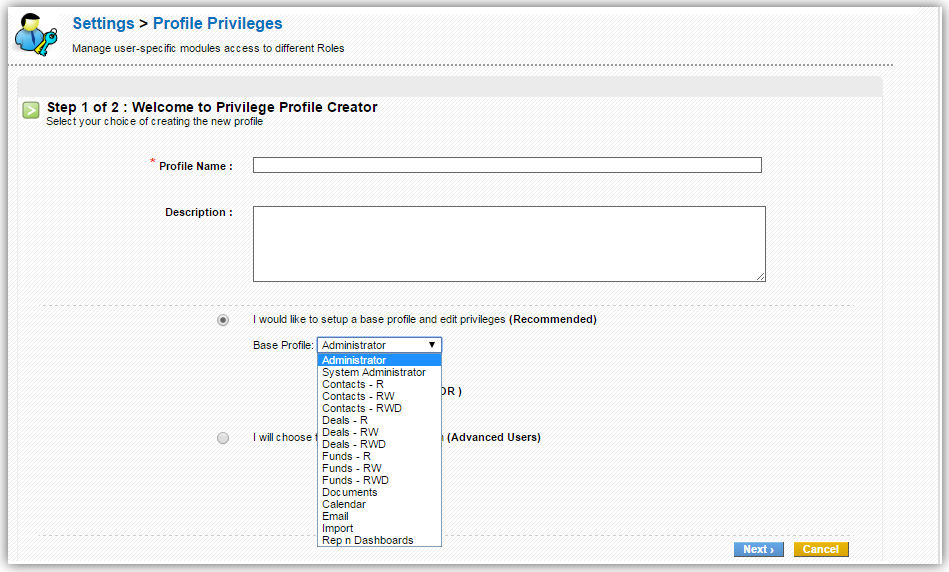
- Creating profile is a two step process.
- In Step 1, provide Profile Name (mandatory), Description (Optional) and choose whether you want to set up a base profile and edit its privileges or choose all the privileges from scratch.
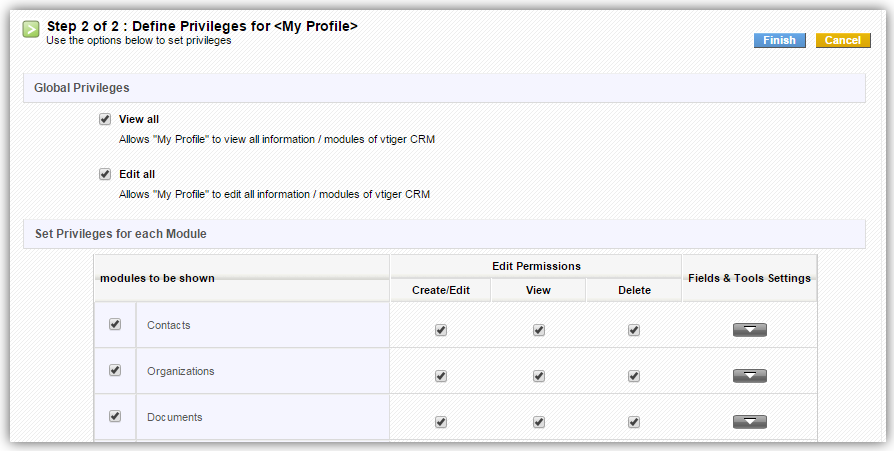
- In Step 2, define privileges for profile by enabling/disabling the checkbox next to each functionality and tool.
- If you have selected a base profile in Step 1, only the privileges for the base profile will be enabled and you can edit them if required.
- If you did not select a base profile in Step 1, all the privileges will be enabled and you will have to disable the appropriate privileges as per the requirement.
- Click Finish.
Assigning users to a profile
Profile cannot be directly linked with users. You'll need to associate a profile with a role; as a result, privileges are affected to all users across that role.
Here's how to do it
-
Click gear icon
 in the upper right.
- Click CRM Settings.
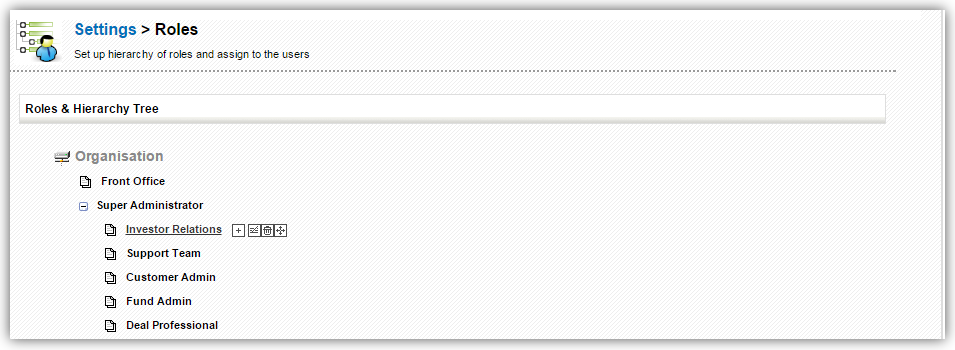
- Under Users and Access Management click on Roles.
- You will see Roles and Hierarchy Tree.
-
Hover the mouse on a role and click on
 (edit role icon).
- You will see all available profiles.
-
Select the profiles you want to assign to the role and assign them
using arrow buttons.
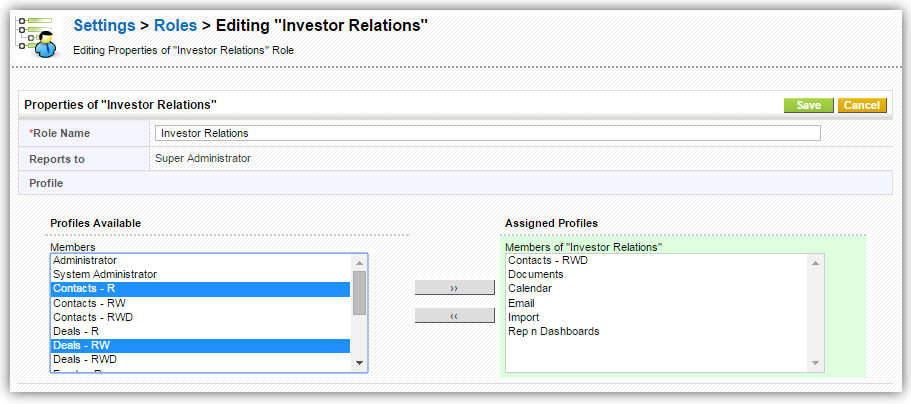
- Click Save.
Notes!
- You can associate multiple users and profiles for the same role.
- When you associate multiple users for same role, the users under the role will not be able to see each others' records.
- A role always work with respect to Profiles and Sharing Access.
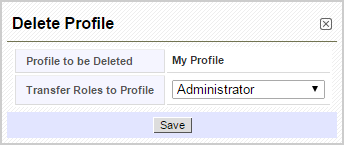
Deleting a Profile
If existing profiles doesn't meet your requirements, you can delete them right away. Follow the simple steps listed below to delete an existing profile.
-
Click gear icon
 in the upper right.
- Click CRM Settings.
- Under Users and Access Management click on Profiles.
- You will see list of all profiles available in PE Front Office.
-
Click the trash icon
 on the left of the desired profile.
- Before deleting a profile you will have to transfer all its roles to an existing profile.
- Choose profile from dropdown to which you want to transfer the roles.
- Click Save.