Operations
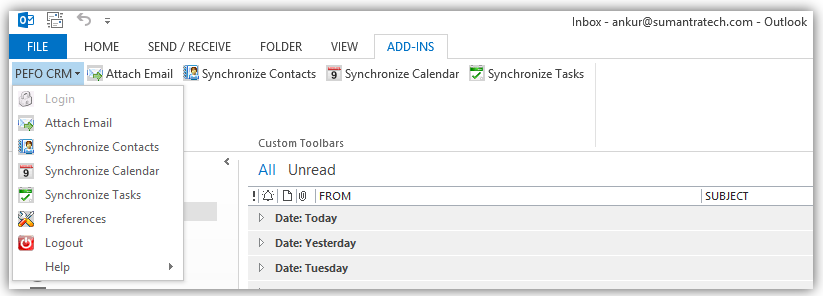
After successfully installing the Outlook plugin, you can view it under the Add-ins tab in your Microsoft Outlook application.

Login
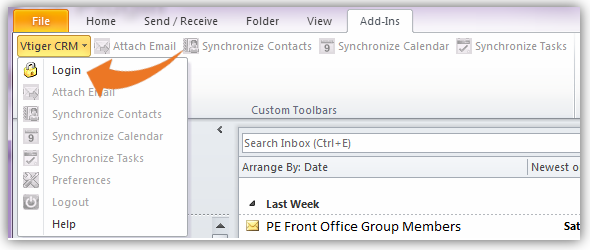
Upon installation, you'll need to click on PEFO CRM > Login to get started.
Please use the following values:
- PEFO CRM URL: https://multiplestest.sumantrasolutions.com/pecrm/
- Username: [PE Front Office User Name]
- Access Key: Login to Online CRM -> Go to My Preferences and Get Access Key from User Advanced Options panel
Note! Click on “Auto Login at the start of Outlook” check-box to log into Outlook plugin without needing to enter the details all over again.
After logging in, the tabs: Attach Emails, Synchronize Contacts, Synchronize Calendar and Synchronize Tasks are highlighted.
Setup Basic Preferences
PE Front Office Outlook plugin gives you the flexibility to configure key preferences to manage different operations.
Follow few simple steps to configure key preferences
- Click PEFO CRM drop-down
- Click Preferences

General Tab
Under General tab, you can set up following preferences
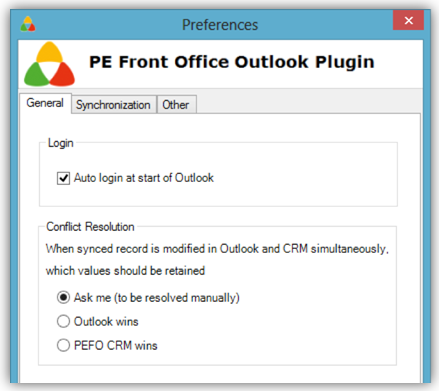
Login:Enable the check-box Auto login at start of Outlook to login automatically without having to enter login details
Conflict Resolution: Conflicts might occur while syncing records. To resolve conflicts, you can setup preferences well in advance.
- Ask me: Decide upon conflict
- Outlook wins : Preference will be given to records in Outlook to records in PEFO CRM
- PEFO CRM wins : Preference will be given to records in PEFO CRM to records in Outlook
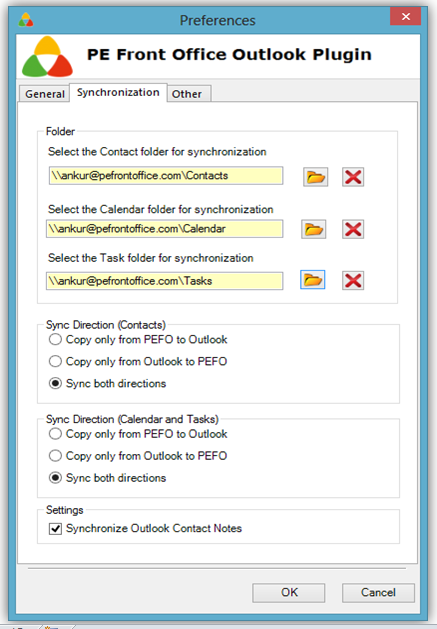
Synchronization Tab
Under Synchronization tab, you can set up following preferences
- Folder: You can select the folder to synchronize the records from. Generally, the parent folder is selected by default. However, you can also select desired folder (even a sub folder) to synchronize records from/to the selected folder.
- Click on folder icon to select desired folder
- Click on cross mark icon to delete synchronization history
-
Sync Direction (Contacts, Calendar and Tasks): You have complete control over the records you sync. You can configure the Outlook plugin to sync records in whichever direction you need. Sync direction preferences are available for Contacts & Calendar and Tasks separately.
-
Settings: Default settings allow synchronization of Contact Notes. However if you do not want to synchronize Contact Notes you can disable the corresponding check-box.
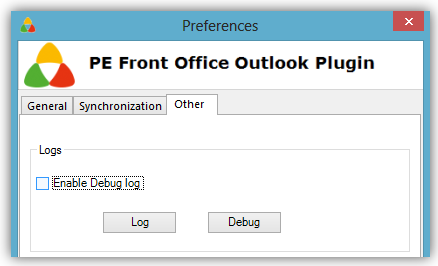
Others Tab
Under Other tab, you can set up following preferences
-
Logs: If you encounter any issue while performing any operation within PE Front Office Outlook plugin, we will suggest you to send us the debug file. This file will help us to find out what's going wrong, and it makes trouble shooting easy for us.
Follow few simple steps to generate the debug file
- Click PEFO CRM drop-down
- Click Preferences
- Click Other tab
- Enable the check-box Enable debug log
- Click Ok
- Now repeat the operation that was not working fine for you (Eg: Sync Calendar, attaching email, etc)
- Come back to Preferences page again. Under the Other tab, click Debug
- It will generate a file. Send us the file by email.
-
Calendar Activity Type: PE Front Office supports two types of calendar events: Calls and Meetings. Tasks in Outlook are synced as to dos in PE Front Office while Outlook meetings are synced as calendar meetings in PE Front Office. You'll need to configure what Appointments in Outlook should be synced as. Depending upon your configuration, your appointments can be synced as calls or meetings in PE Front Office.
