Creating Contacts Manually
You can enter Contact details manually from Contacts Module. This might come handy if you will have to enter Contact details individually.
Steps to create Contact records manually
-
In Contacts tab, click on
 icon
at the top.
icon
at the top.
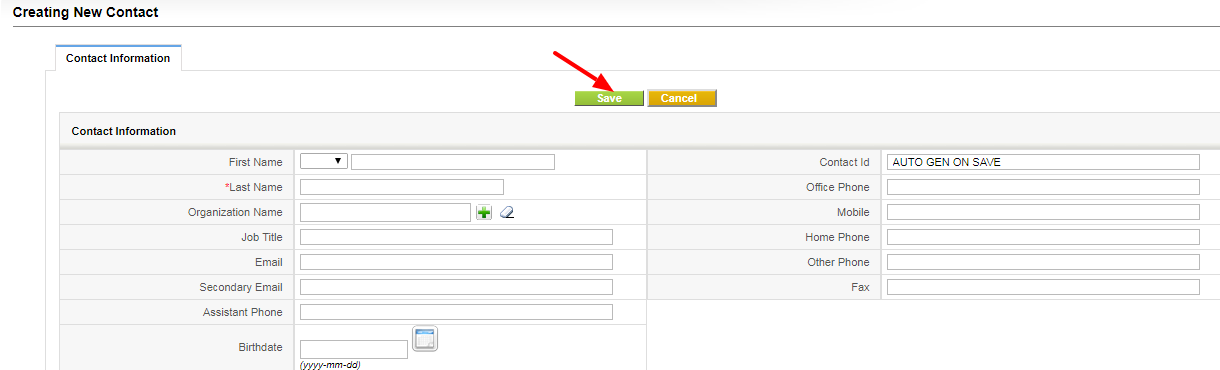
- In the Create Contact view, fill in the Contact details.
- Click Save.
Quick Create
You can enter basic details of Contact record through Quick create. This might be helpful if you are running out of time.
Steps to create Contact records through Quick create
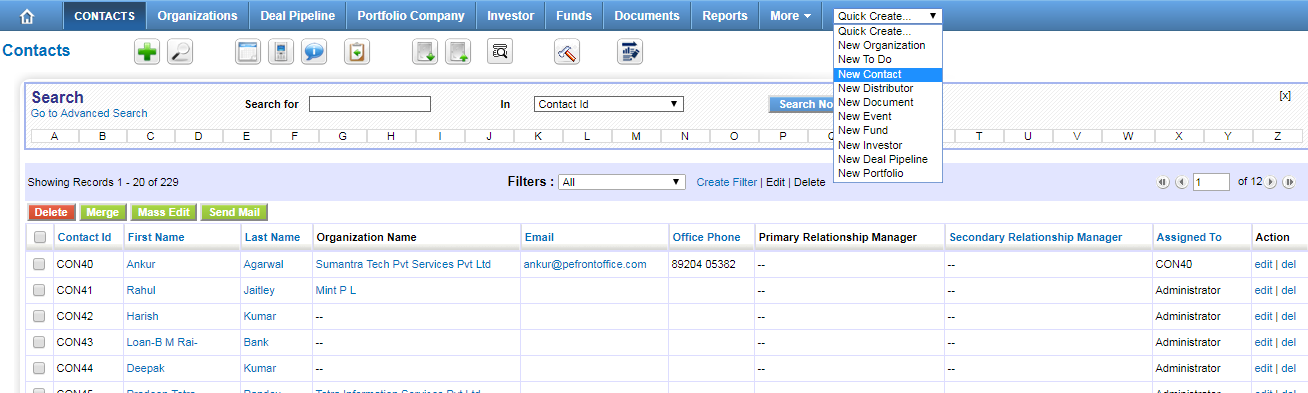
- Click Quick Create drop-down at the top right corner.
- Choose New Contact.
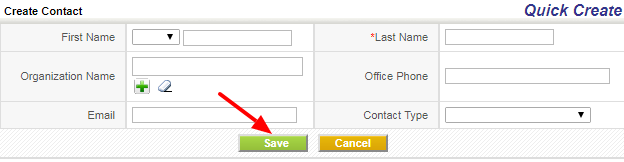
- In the Create Contact view, fill in the Contact details.
- Click Save.
Importing Contacts from Existing files
PE Front Office supports importing Contacts from external sources such as .csv and vcf files. As it saves lots of time and efforts, it might come in really helpful for your team to import thousands of records instantly. Learn more
Exporting Contacts to External Source
If you ever want your data in the form of a spreadsheet, you can export your Contacts records right away.
Steps to export your data
- 1. Click Contacts tab.
-
2. Click on
 icon
at the top.
icon
at the top.
- 3. In the Export Records page, you will find the following options
| Export with search records | Click on the radio button to export records which meet the search criteria. |
| Export without search records | Click on the radio button to export all records in Contacts module irrespective of the search criteria. |
| Export selected records | Click on the radio button to export the records selected in List view. |
| Export data in current page | Click on the radio button to export all the records that are on the current list view page. |
| Export all data | Click on the radio button to export all records in Contacts module. |
- 4. Click Export Contacts button.
Managing Contacts
List of operations you can perform on records in Contacts Home page
- 1. Create Custom filters to classify records as per your requirements. You can be able to limit your search to selected columns and search criteria.
- 2. Search desired records.
- 3. Go to Actions column in List view to perform following operations
-
- Click Edit to modify selected record(s).
- Click Delete to delete selected record(s).
- 3. Go to top left of the List view to perform following bulk operations
-
- Click Delete button to delete selected record(s) in List view.
- Click Mass Edit button to edit selected record(s) in List view.
- Click Send Mail button to send email to selected record(s) in List view.
List of operations you can perform on detail view of Contact record

- 1. Click Edit to modify existing content.
- 2. Click Send Mail to send email to existing Contact record.
- 3. Click Delete to delete the existing Contact record.
- 4. Click Duplicate to clone existing Contact record.
- 5. Click Add Document to attach a document to existing Contact record.
- 6. Click View History to to view history of changes made on Contact record.
- 7. Click Add Event to schedule a Call or Meeting and Select Add To Do to schedule a task.
More Information
This will display all-round view of relations of Contacts module with other modules and maintains log of complete history.
You can keep track of following details in Contacts module
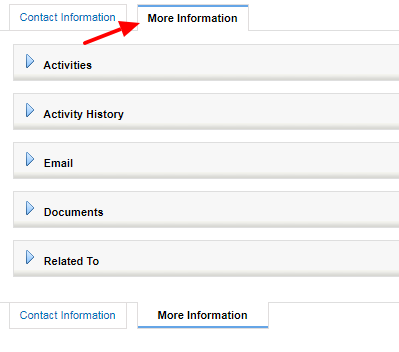
| Activities | To view or create Events and To-dos on a Contact record |
| Emails | To view the Emails sent to Contact record |
| Activity History | To view all Events and To-dos that are completed or status changed as held |
| Documents | To view the Documents related to the Contact record |