Creating a Report
You can group records of a kind in Folders. Follow few simple steps to create a new report
- Click on Reports Tab.
- Click on Create Report Icon (
 ) at the top.
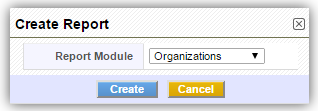
 - You will see Create Report pop up.
- Choose the module for which you want to create report.
- Click Create.
- You will see create report wizard with 9 steps.
Step 1: Report Details
In Step 1 of creating reports, you'll need to provide a few basic details. The information of fields that are displayed in Step 1 are tabulated below
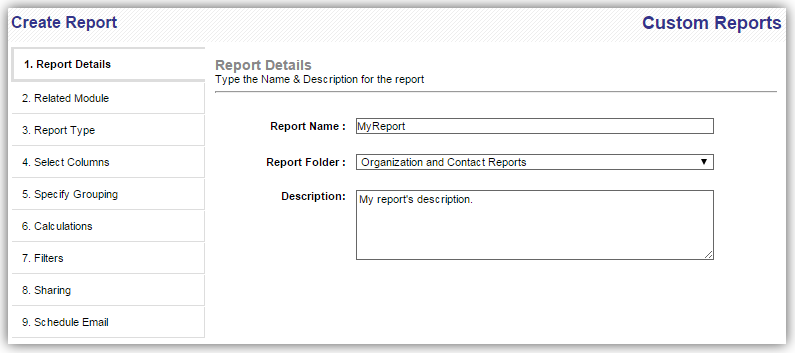
| 1. Report Name | Provide desired label for your report |
| 2. Report Folder | Select from the existing folders to store your report |
| 3. Description | Provide report description. This is just for future reference |
Click Next button.
Step 2: Related Modules
Select related modules to include their fields in report.
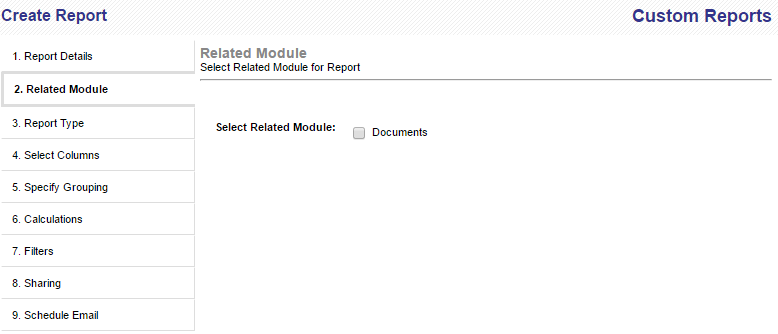
Notes! You can also proceed without selecting any related modules.
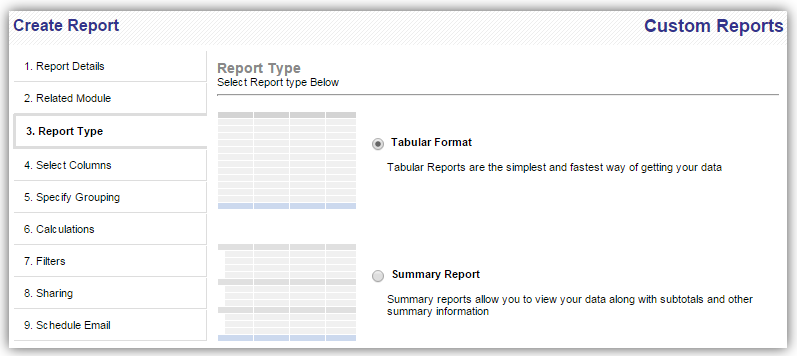
Step 3: Select Report Type
Select the format of report - Tabular Report or Summary Report.
Tabular Reports are the simplest and fastest way of getting your data.
Summary Reports allow you to view your data along with subtotals and other summary information.
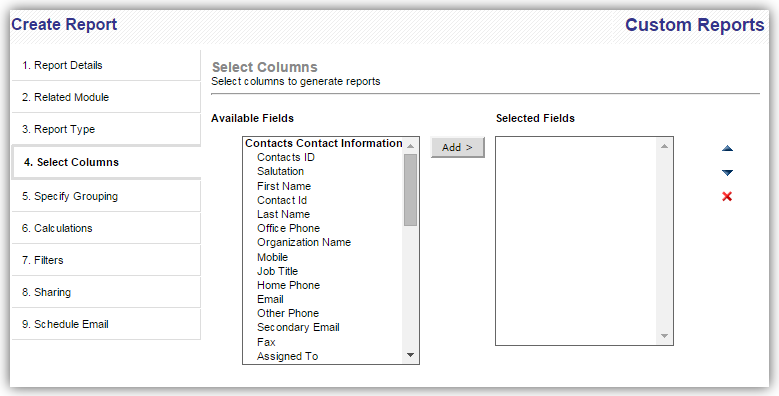
Step 4: Select Columns
You can select fields from selected module and related modules to be displayed in your report. Select the desired fields from available fields and add them by clicking the arrow buttons. You can also rearrange the selected fields using the arrow buttons on the right.
Step 5: Specify Grouping
TBD
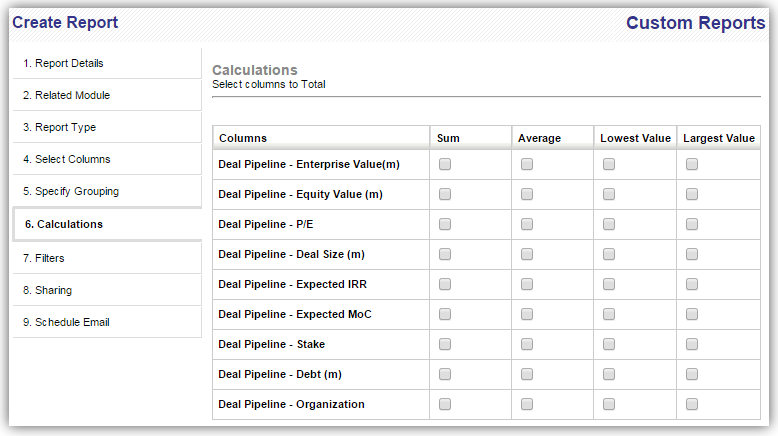
Step 6: Calculations
Select formula for fields - Sum, Average, Lowest Value and Largest Value.
Step 7: Filters
Provide condition to filter selected records. You can skip this step if you like to create report of all existing records in selected module.
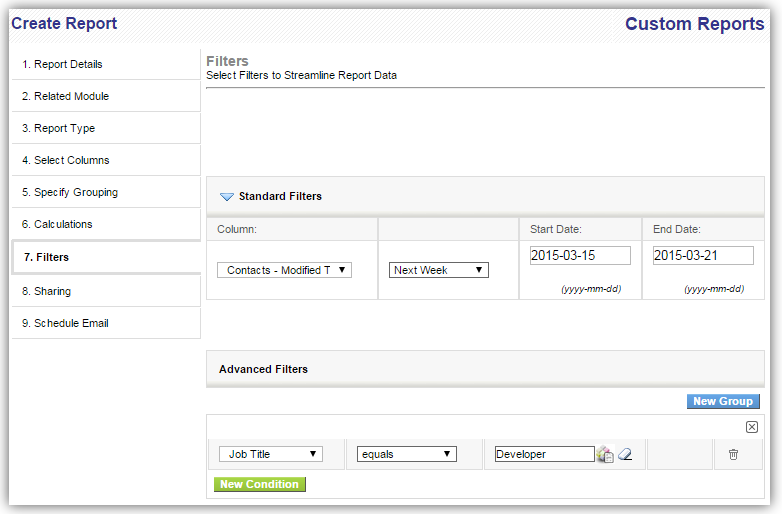
All Conditions : Filters records based on AND condition.
For instance,
Condition 1
AND
Condition 2
AND
Condition 3

Displays the results if and only if ALL conditions will be matched. If one condition is failed, other  queries will not be executed.
Any Conditions : Filters records based on OR condition.
For instance,
Condition 1
OR
Condition 2
OR
Condition 3

Displays the results if at-least ONE condition is matched. If one query is failed, other queries will  be executed.
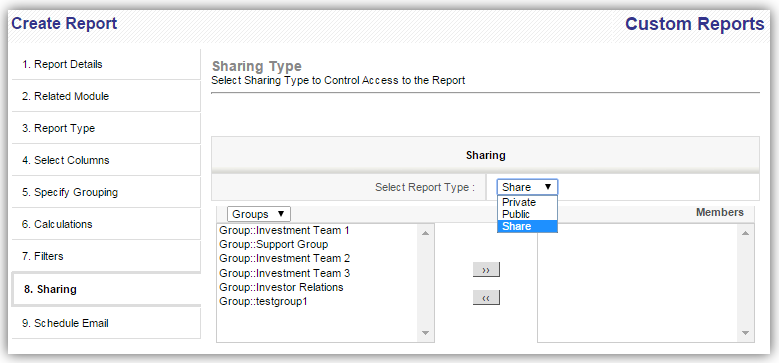
Step 8: Sharing
Select sharing mode (Public, Private) for the report from the dropdown.
If you want to share the report to a specific user or a group, choose Share in the dropdown and then select the group(s) or user(s).
Step 9: Schedule Email
With this feature enabled you can send Reports in PDF and Excel formats at regular intervals to specific users through email without logging in to the CRM.
Frequency can be configured based on the regular intervals required for the Report to be dispatched.
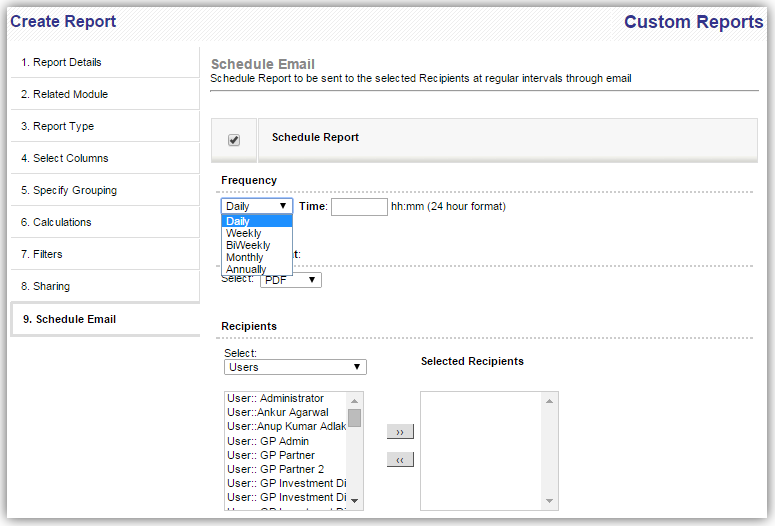
Fields Information
| Daily | Report will be emailed every day around the specified time. |
| Weekly | Report will be emailed every week, on the specified day around the specified time. |
| BiWeekly | Report will be emailed twice every week, on the specified days around the specified time. |
| Monthly | Report will be emailed every month, on the specified day around the specified time. |
| Annually | Report will be emailed every year, on the specified month & day around the specified time. |
Notes! For Scheduled Emails functionality to operate, workflow cron job should be active under the Scheduler.
Click Finish.